Pi Powered Vintage Radio with Moode
My kids have been on my case for a while to buy them an airplay speaker so that they can listen to audiobooks without being in the same room as my smartphone. After looking at what was on the market, I decided to just go ahead and make my own one.
We had an old 80’s Panasonic cassette radio sitting in the garage, so I brought it up, ripped out the guts, and turned it into a Moode audio player.
All in all, the process was pretty simple. For software configuration, simply follow the instructions on the Moode site and you should be up and running in about an hour.
The hardest bit was working out what components I needed and wiring them together.
Here are some photos of the guts.
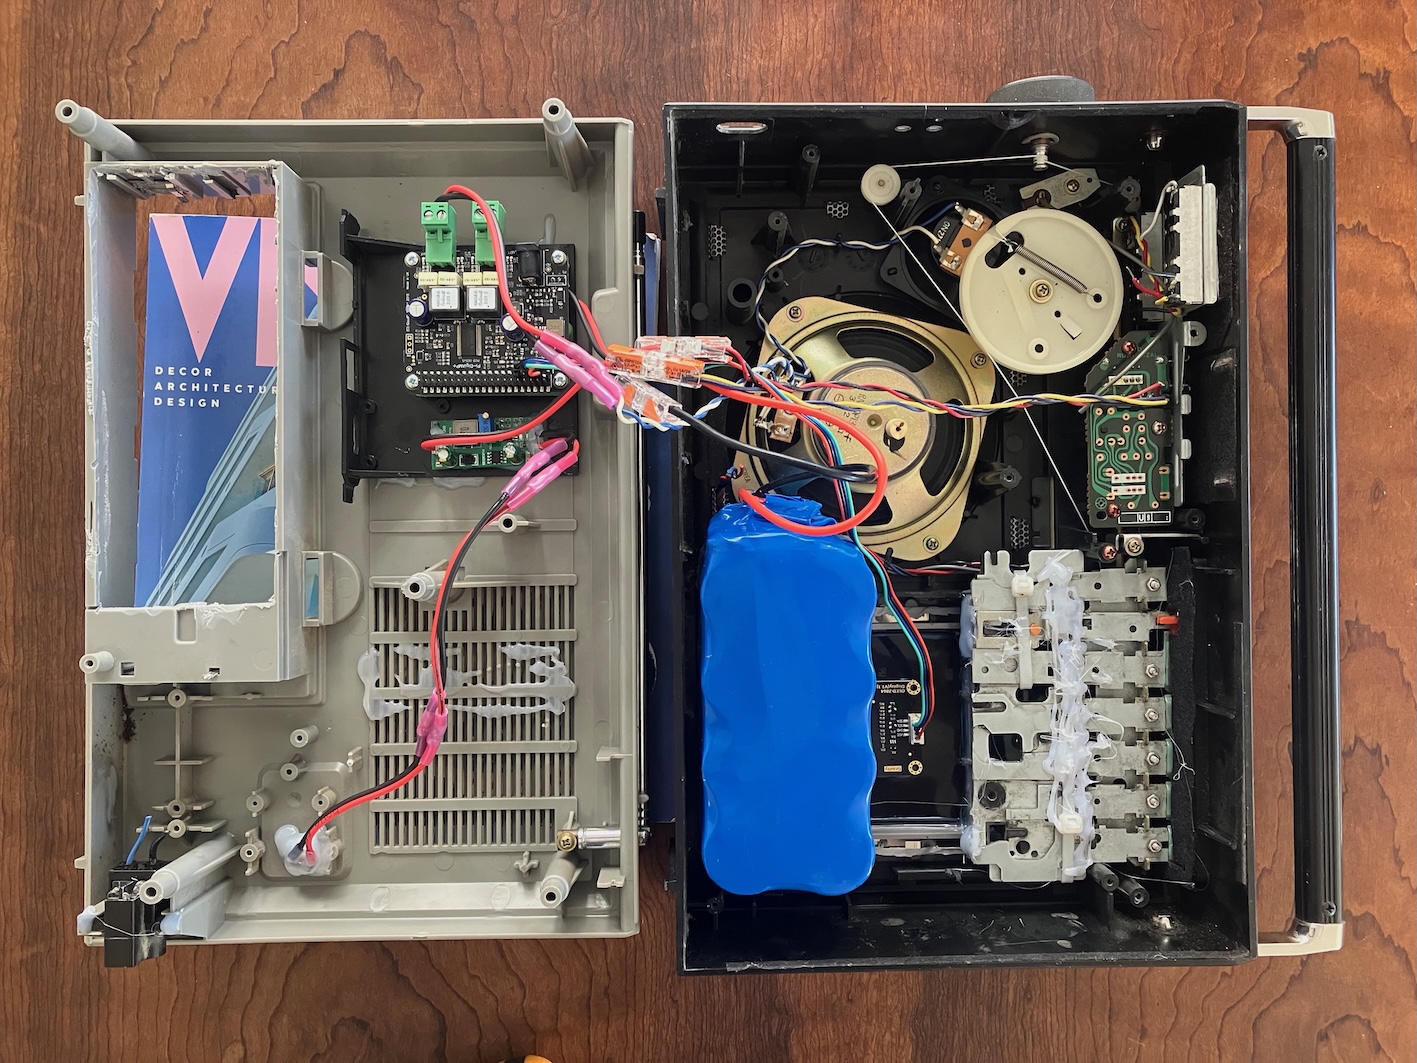
The grey half is the back panel and the black half is the front. I ripped out pretty much everything, but left as many dials and buttons in place because they are nice to fiddle with. The only switch that works is the power switch.
On the left we have a Raspberry Pi Zero 2 W, an IQAudio DigiAmp+, a LifePO4 charging PCB, and, at the bottom left, a USB-C port. The USB-C port negotiates 20v with a USB charger, which is passed to the LifePO4 charger which sends 14.6V to the LifePO4 battery.
On the right we have a 10ah, 12.8v LiFePO4 pack with built in BMS, a speaker, and a 64x128 Oled screen.
Everything is wired up as you would expect, pretty much.
Here’s what it looks like when all closed up.
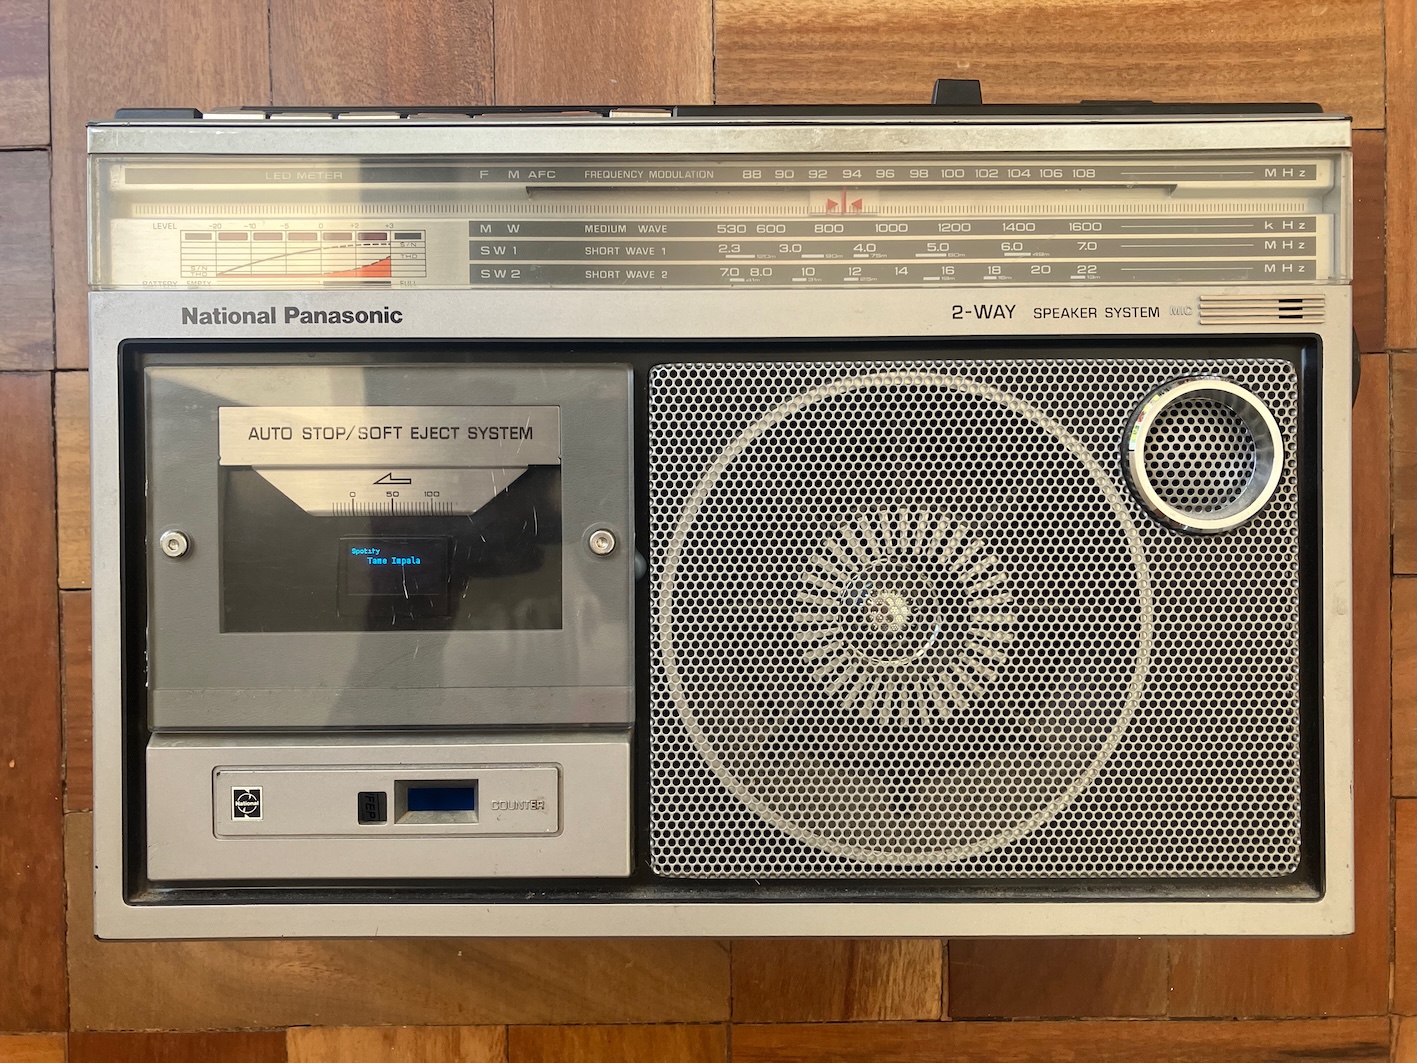
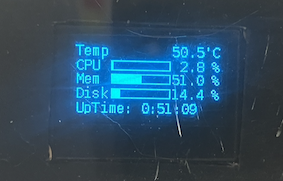
I’ve managed to get the Oled screen to show the currently playing song, or, when it’s not playing, simple system stats.
Would I do it the same way again?
Moode works quite well. I really like it, and Spotify, Airplay and Bluetooth usage is pretty user friendly.
The battery is way too big. I can play music for several days straight before it dies.
The charging system has been a big disappointment. I really wanted something slick - just plug in a USB-C cable and off you go. But the USB-C pcb needed a charger capable of putting out 20V (many don’t), and it often overheated. And then once the battery voltage got below 12v, for some reason it would start negotiating a lower voltage, resulting in no charging happening.
Eventually I decided to just remove it and charge directly with a 20v DC power source. When I cut the cable, I forgot to disconnect the battery, and I instantly fried the charger.
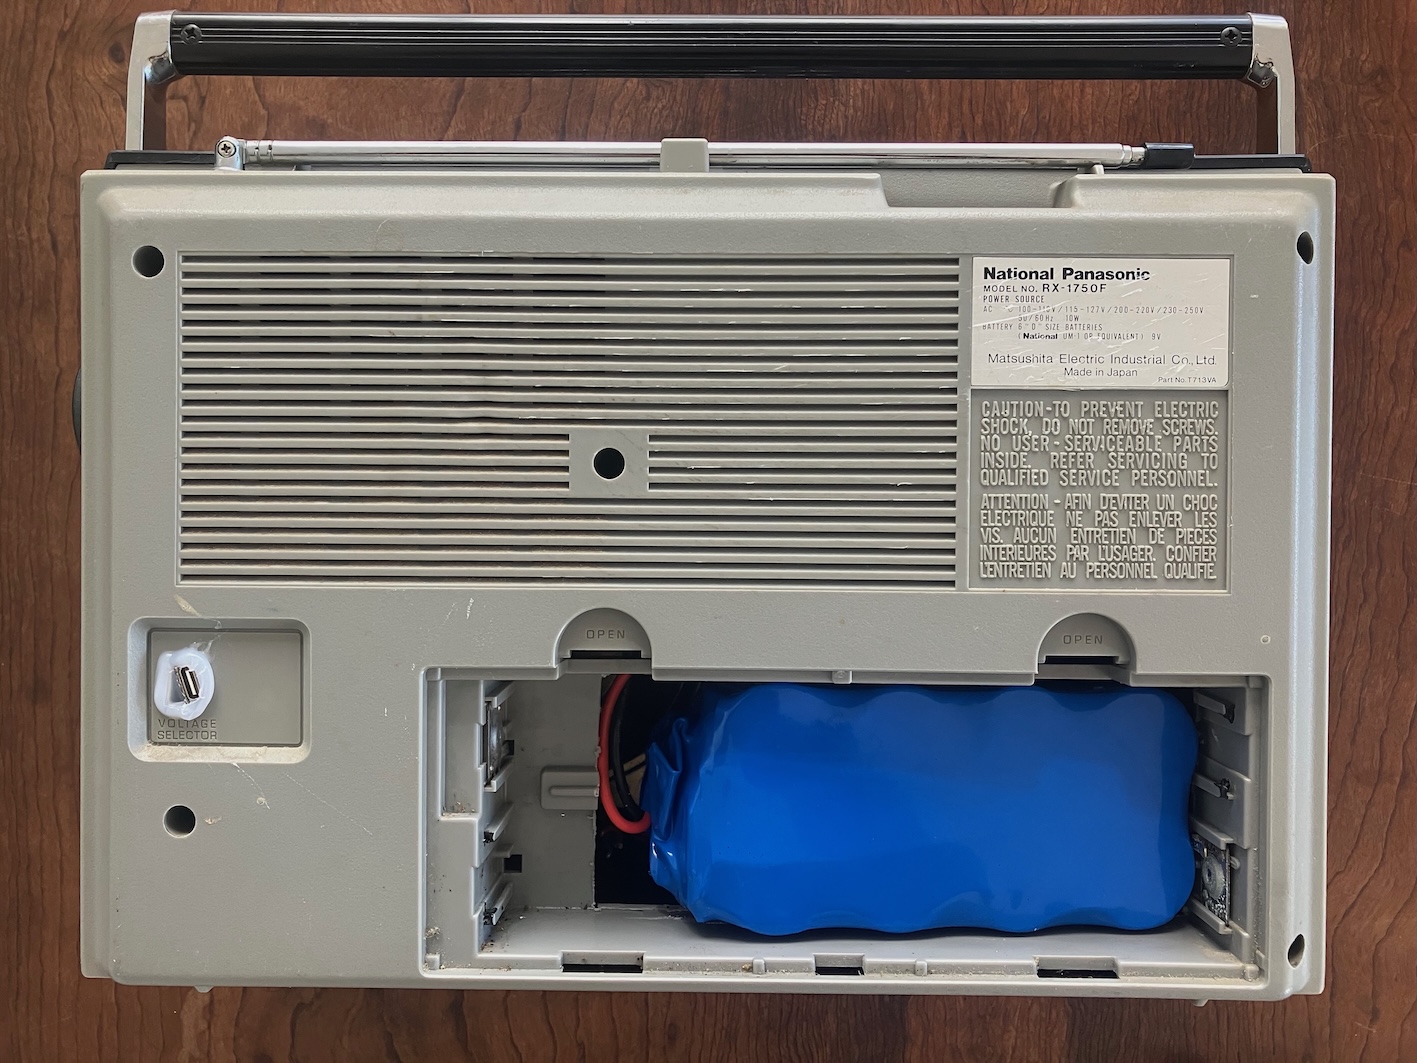
So now I’ve just decided to go super simple and expose a direct positive and negative connection to the battery inside the battery compartment. When I need to charge it (once every few weeks since the battery is so massive), I just pop open the back and connect the battery to my bench DC power supply at 14.5V.
All in all, a solid win. 10/10, would do again.