DIY EV 2: Test Battery
I have been advised to hook up all my components on a bench before I rip anything out of my bus. This is because only a small proportion of EV projects succeed, and if you disable your car as step 1, you end up with a much bigger mess to clean up when you give up.
It was good advice. I immediately discovered that I can’t even hook everything up yet, because I can’t actually power up my inverter! The reason is that the Outlander rear drive unit requires a minimum of 200V to power up. This is unfortunate, because it means I can’t just use a couple of lead acid batteries as my test power supply (the Tesla units will power up with 24v).
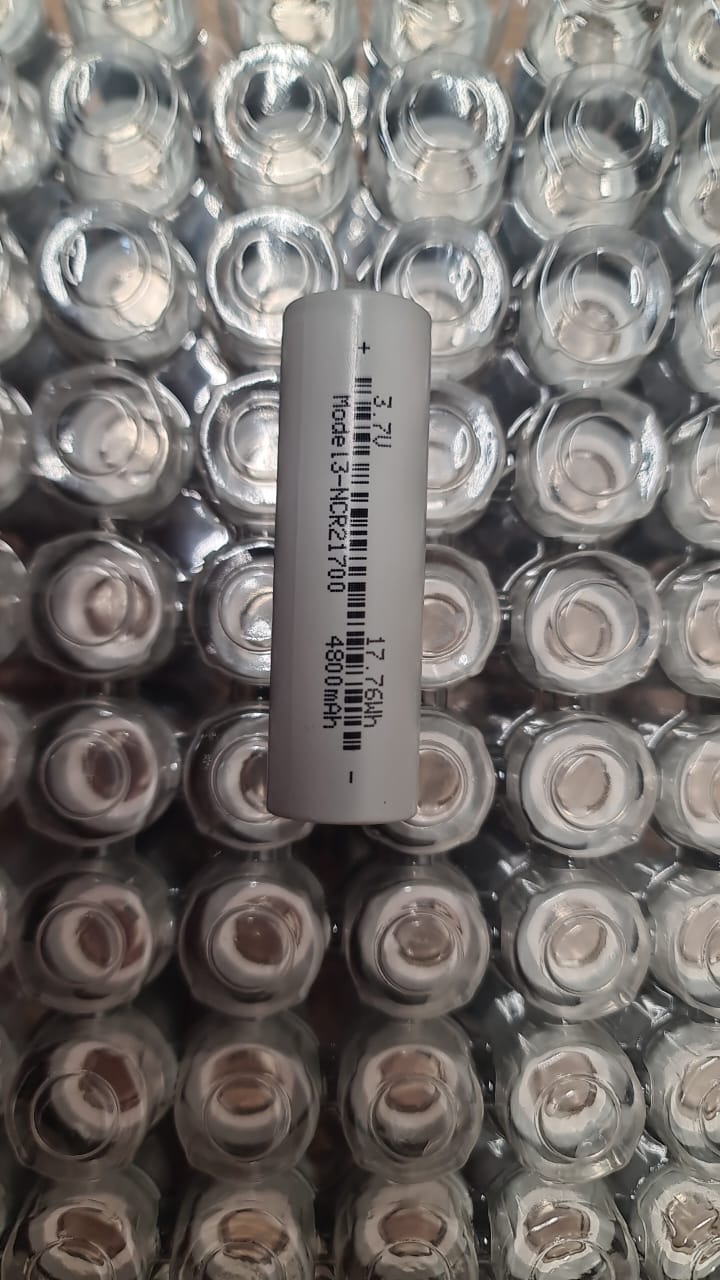
So I had to figure out how to get 200V+ of DC power into my garage for as little money as possible. In the end, I found someone who would assemble 7 x 12S 21700 Lithium Ion cells. The idea is that each of the packs then come to 44.4V nominal - a low enough voltage to handle safely, and quite versatile - but when wired in series I get 310V. I don’t think I’ll worry about a BMS for now, I’ll just measure the voltage from time to time. I don’t think I’ll use much current, and will try figure out how to current limit it. Damien Maguire uses a heater element to limit current, and I’ll try do that as I have one in my tool cupboard.
The next problem is, how do I charge it? Well, I scratched my head about for a while before the folks at openinverter pointed out that I have a perfectly good high voltage DC charger - the EV charger I bought! So I’ll just make that step 1 of my ‘bench assembly’ exercise: get the charger working and hooked up to the battery pack so that when I switch on the wall mains, the test pack is charged up to a target voltage and then turned off. Once I get that working, I’ll move on to connecting the high voltage components to the battery.