DIY EV 10: Ripping out the interior
Once the motor was in, I sort of ran out of time for 2025. The summer holidays were upon us, and some camper cabinets which I had bought in 2024 were finally ready for collection.
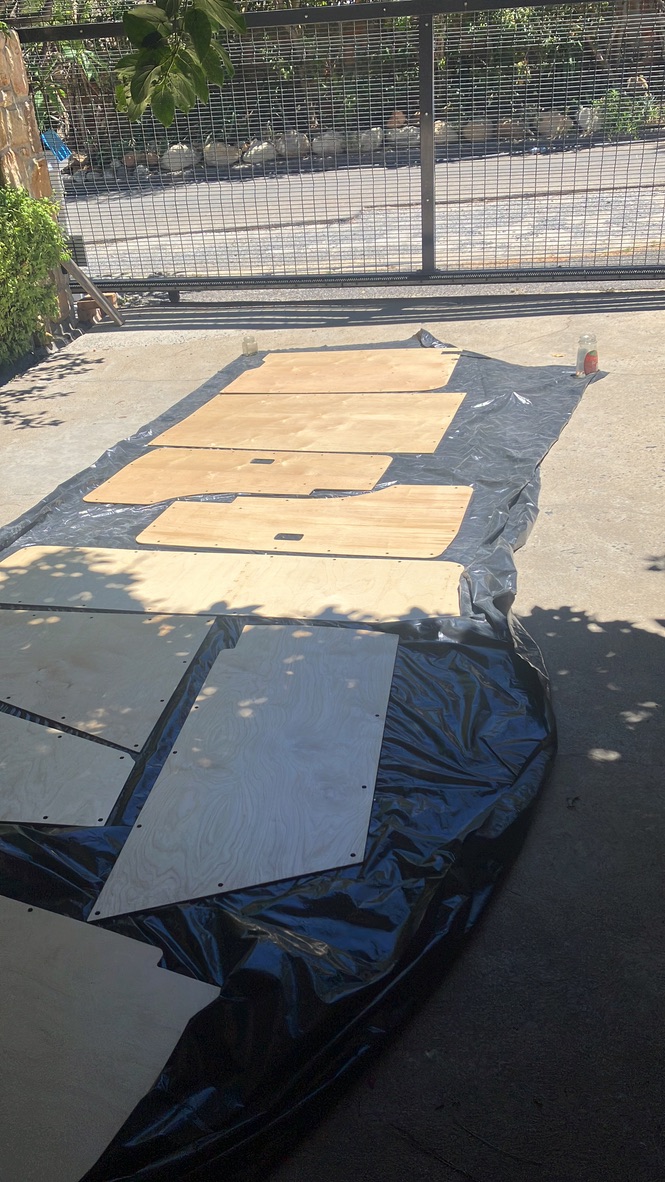
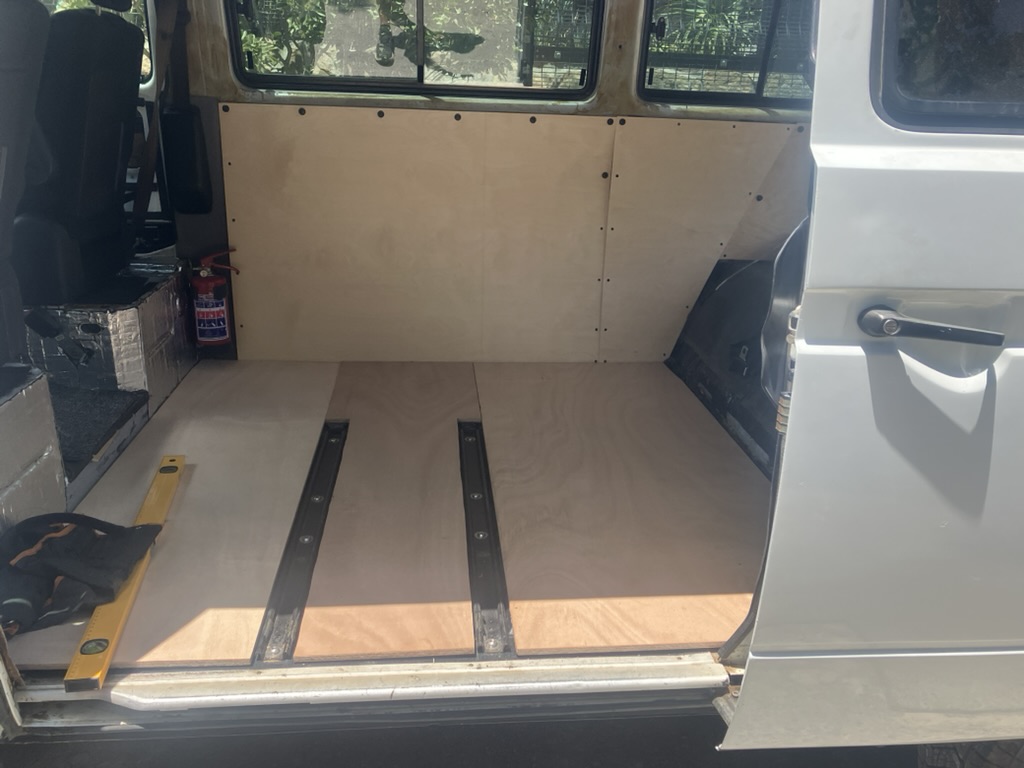
The cabinets couldn’t be installed until I had replaced the old grimy headliner and door panels, so I got some Baltic Birch door panels cut and spent several Sundays sanding and sealing them.
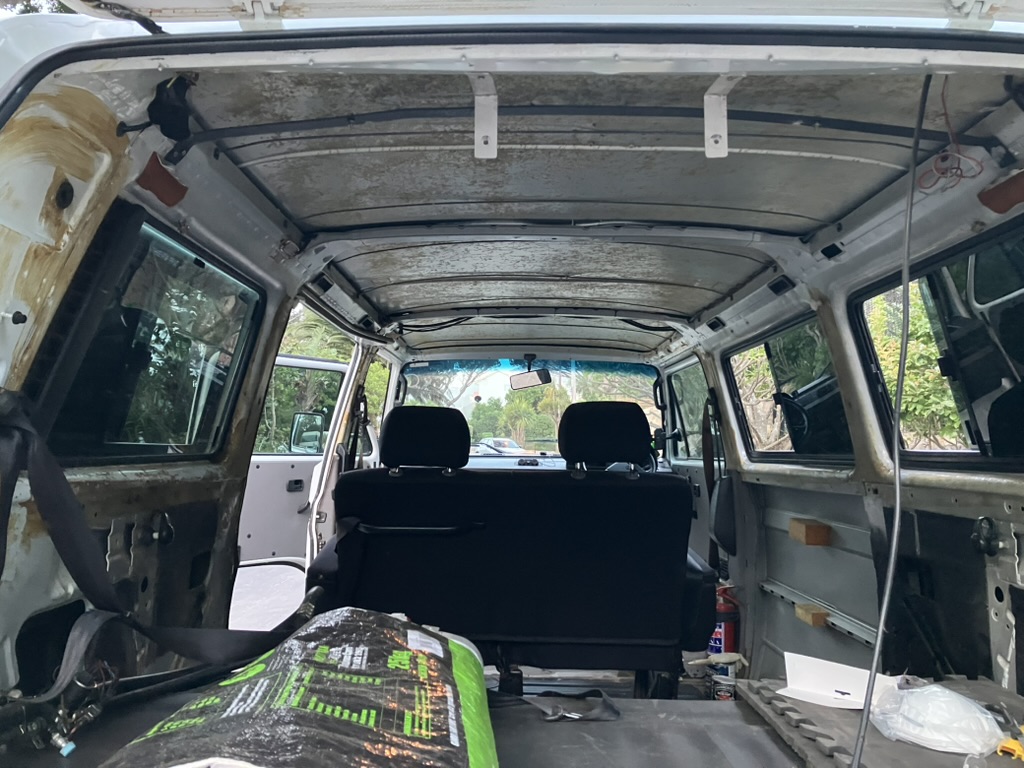
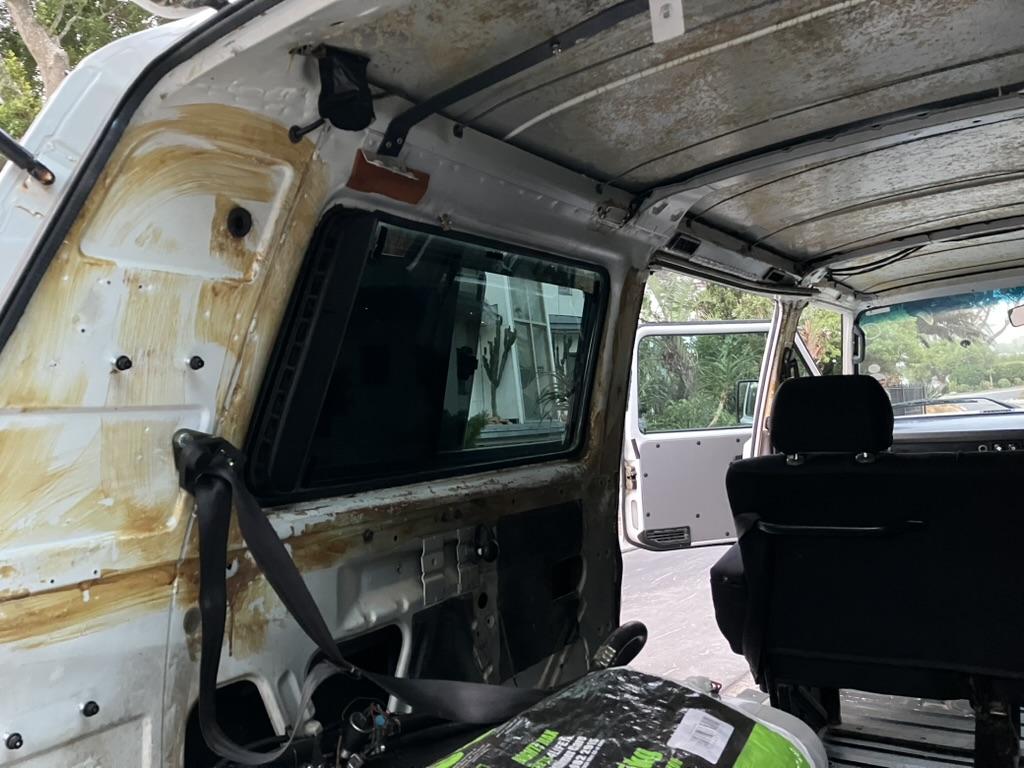
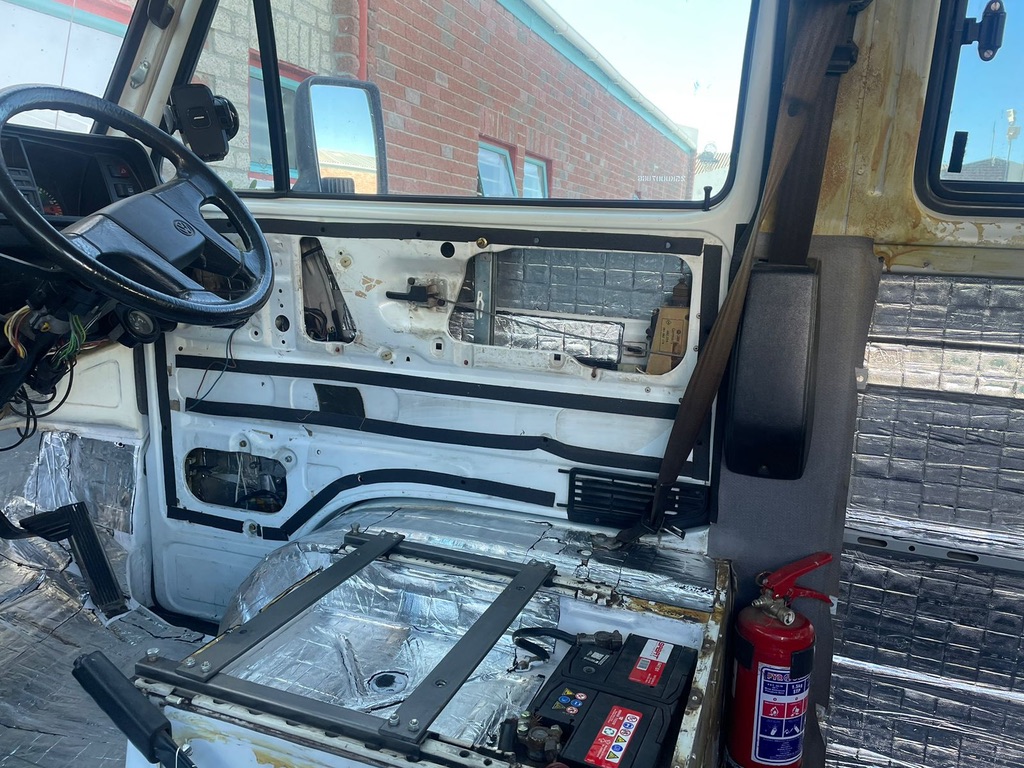
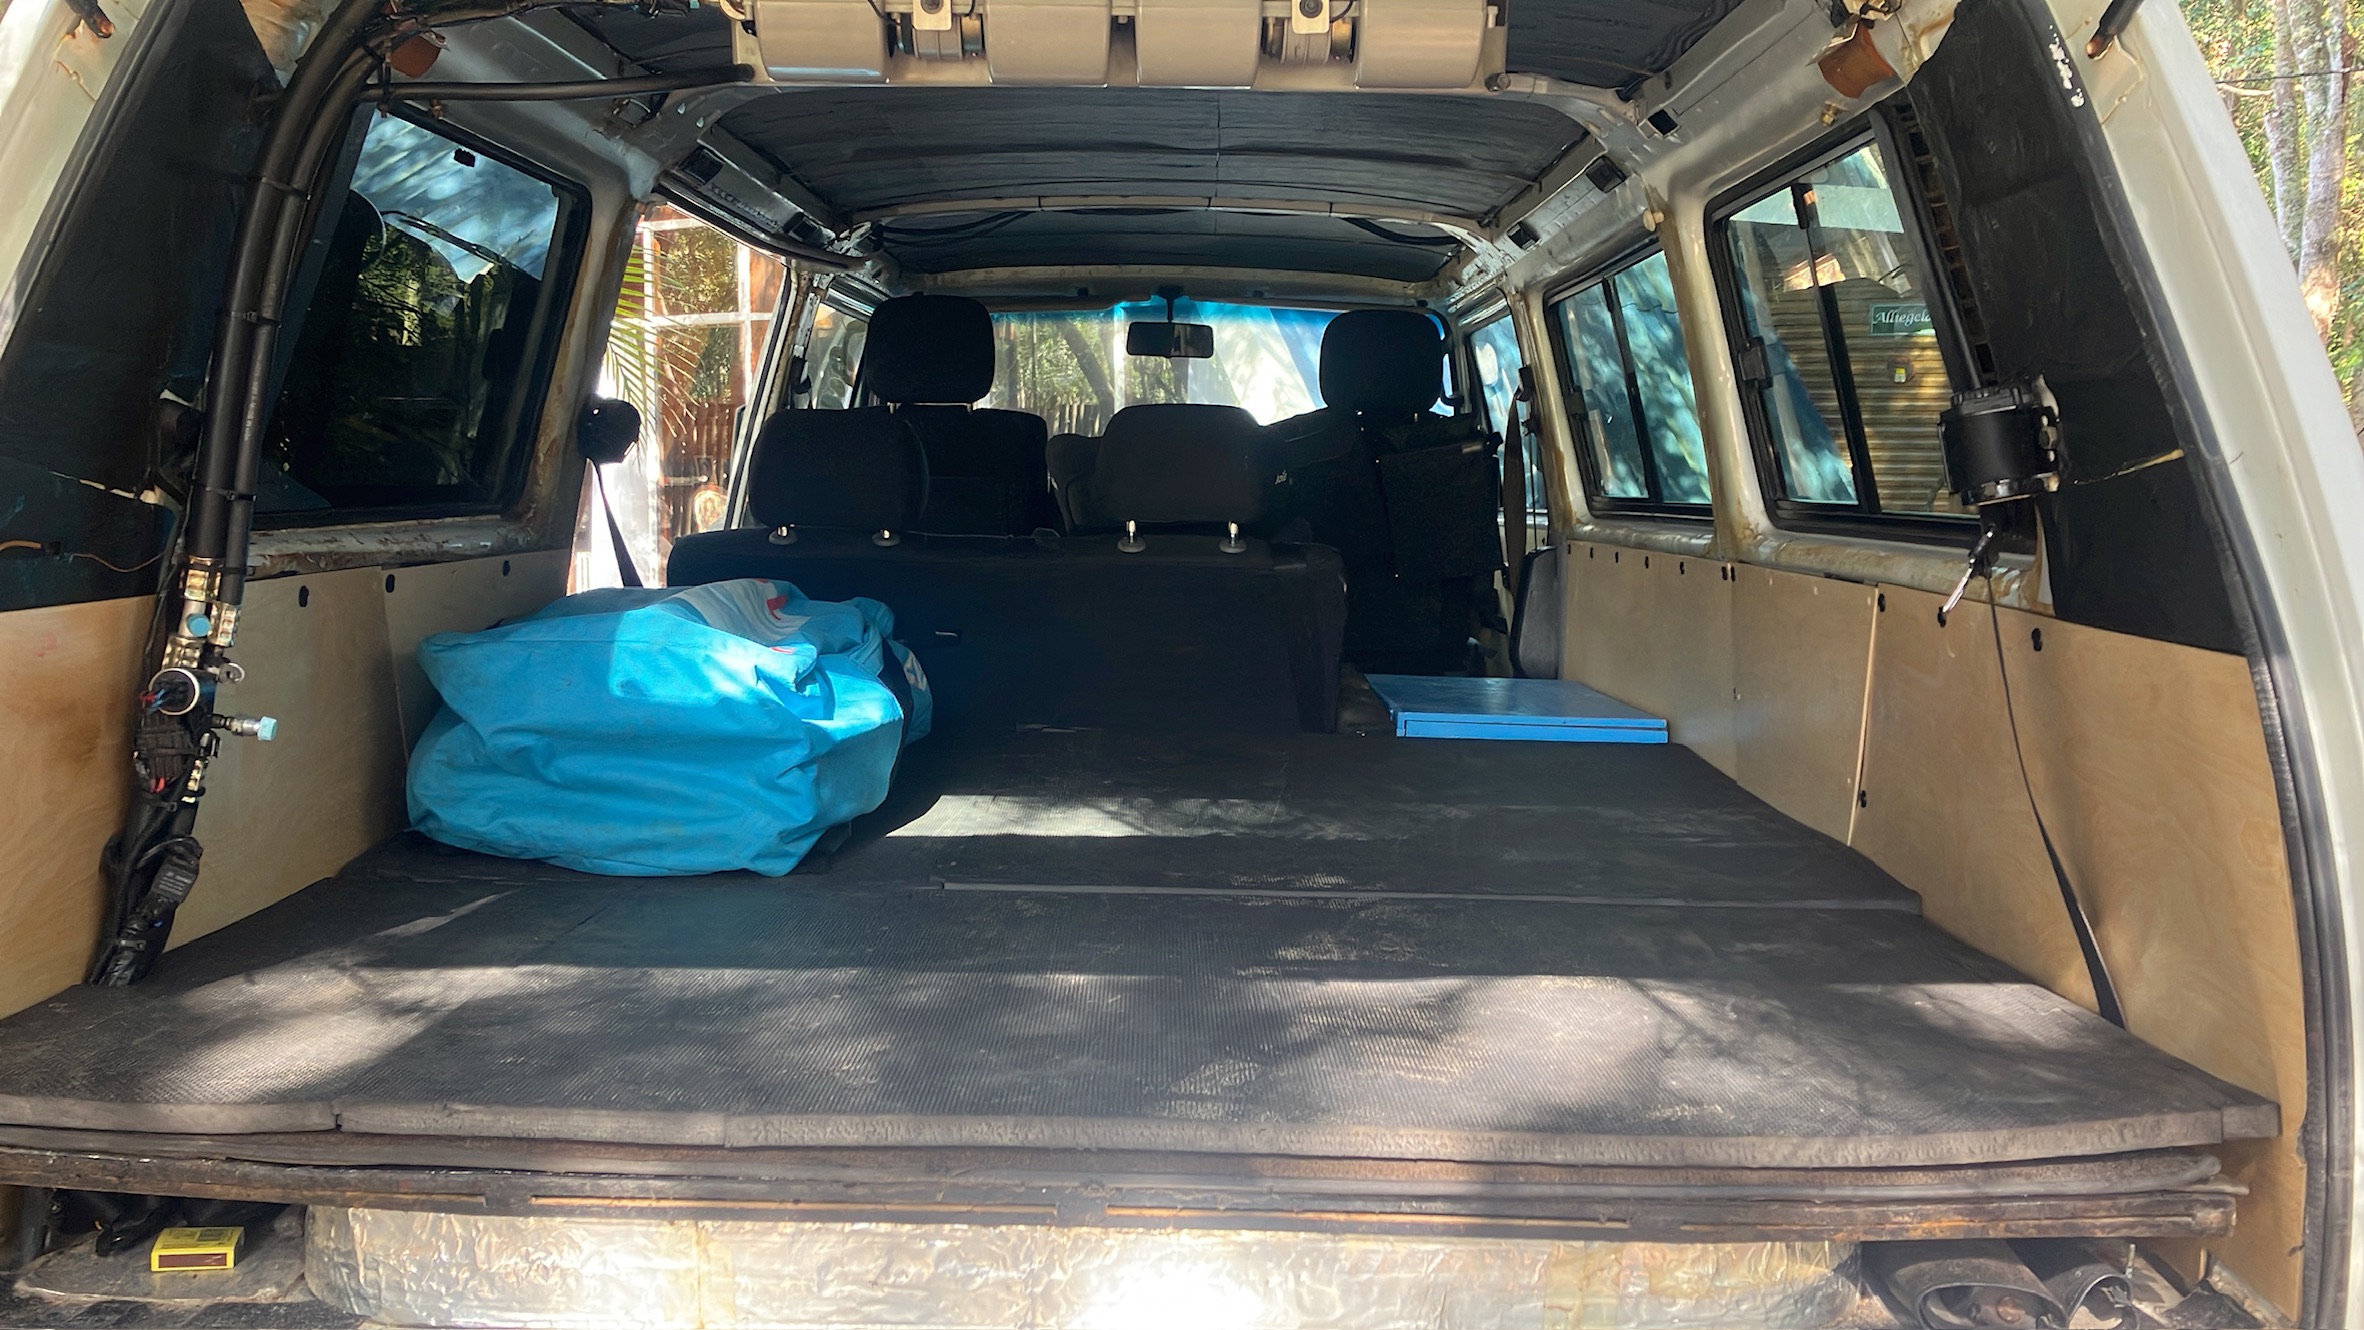
Then I ripped out the old stuff, tried to get down to the metal, and uncovered a lot of surface rust. Another Sunday with a wire brush and some Hammerite and I’d painted over most of it. Hopefully it doesn’t come back, but who knows.

Once it was about as stripped as I could get it, I took it to some sound proofing guys to get sound deadening and blocking material fitted.
For the front I went with 100% sound deadening coverage and then sound blocking over the wheel arches and front footwell area.
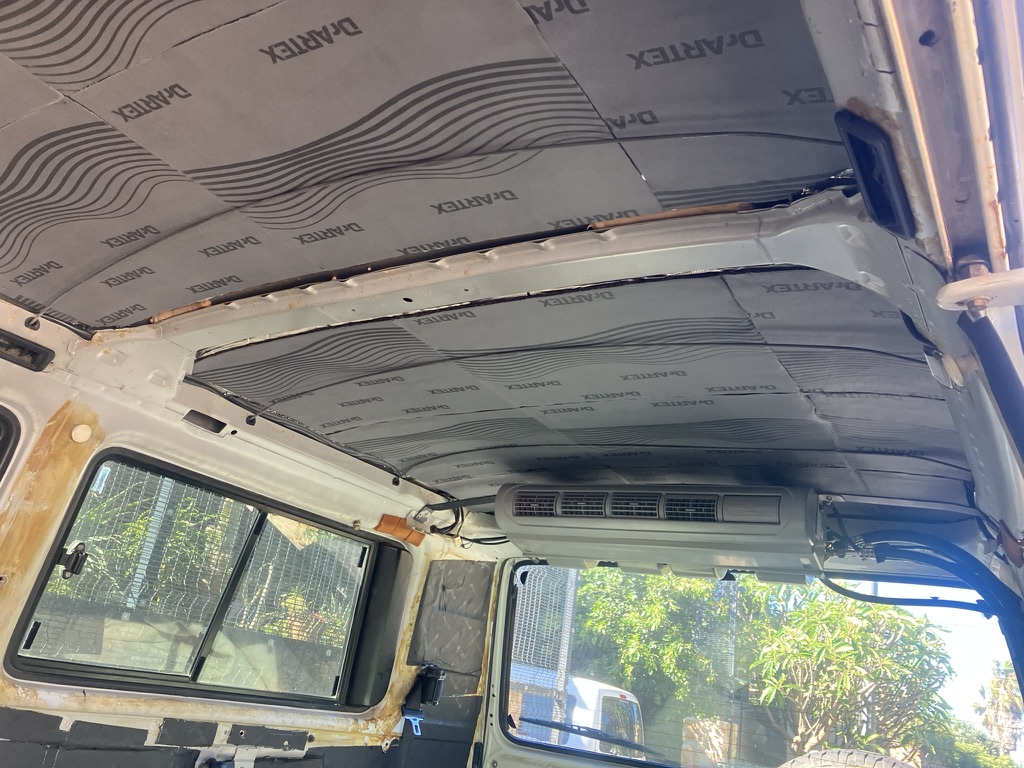
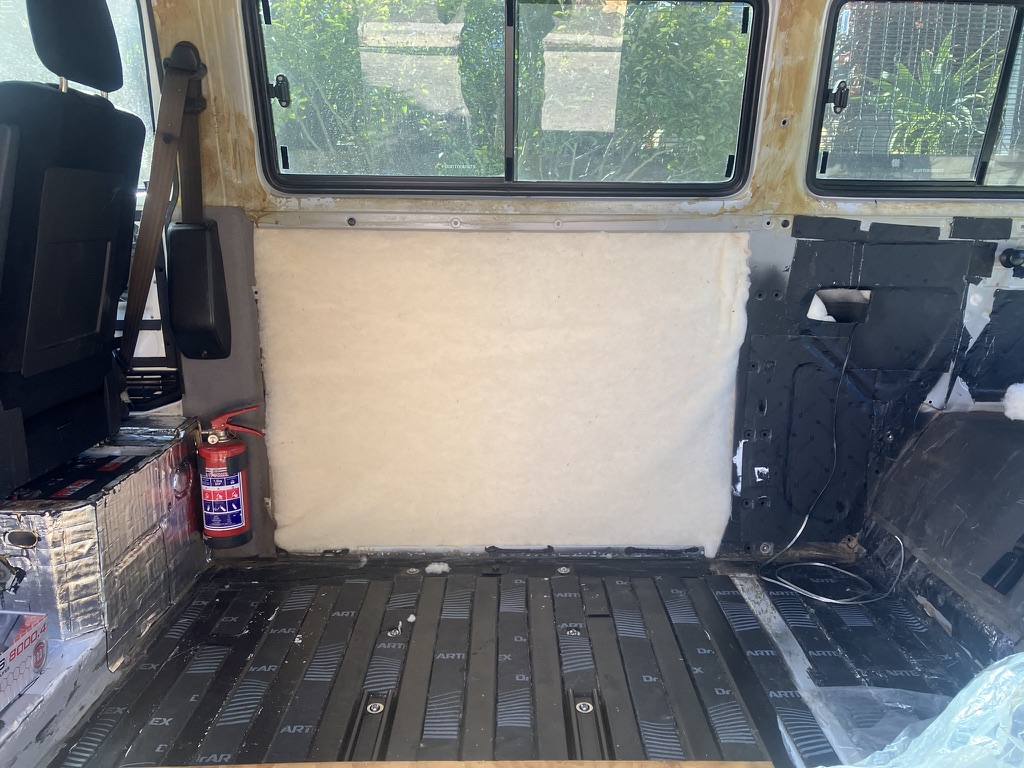
For the roof I just went with a light thermal insulator and for the sides and floor I just went with 50% sound deadener coverage.
Then I went on a bit of a tangent and spent a couple of weeks looking for a South African equivalent of Havelock Merino Wool Car Insulator. This turned into a bit of a slog, but I finally found Gerber and Co in Paarl, who were happy to sell me their merino roofing insulator, which looks very similar. I got about 5x more than I need and went ahead and stuffed it into all my door panels.
By now I was really out of time so I decided to just temporarily put the panels in and prep the van for camper mode so that we could go on a road trip.
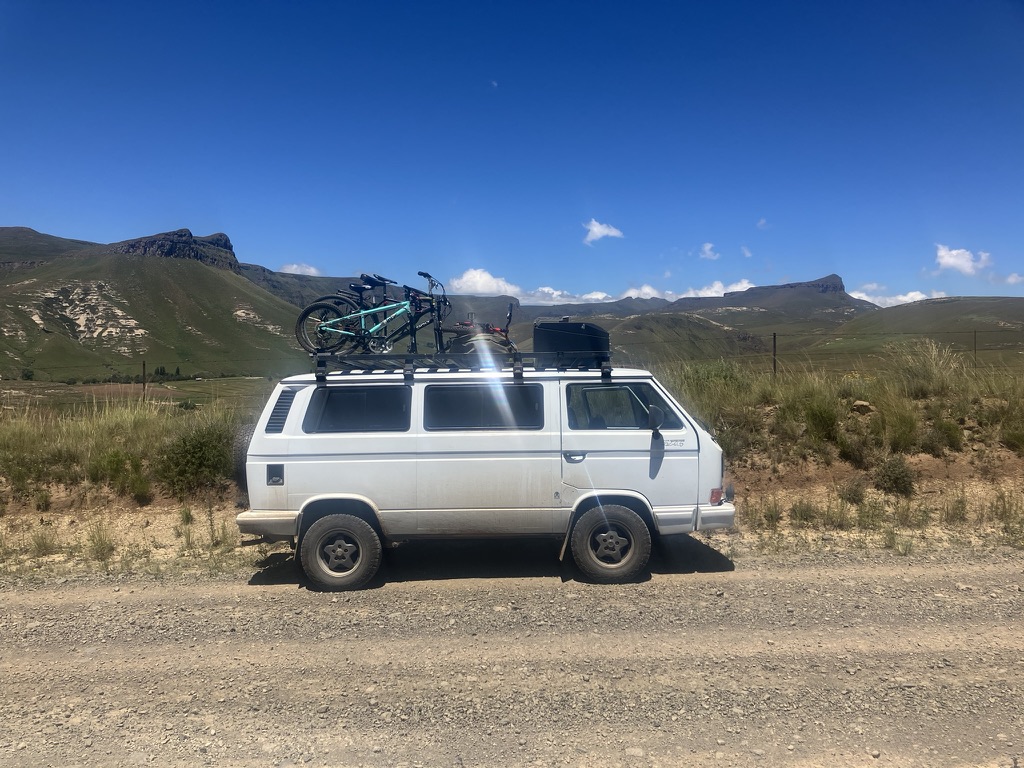
In the end we had a great 3 week road trip with door panels wobbling and no headliner and an electric motor freewheeling in the front. It all went mostly ok, but the sound dampener butyl started warming up and getting onto our clothes, and about 50km from home on the way back we had a tyre burst. A few months later and I’m still not sure what caused it.
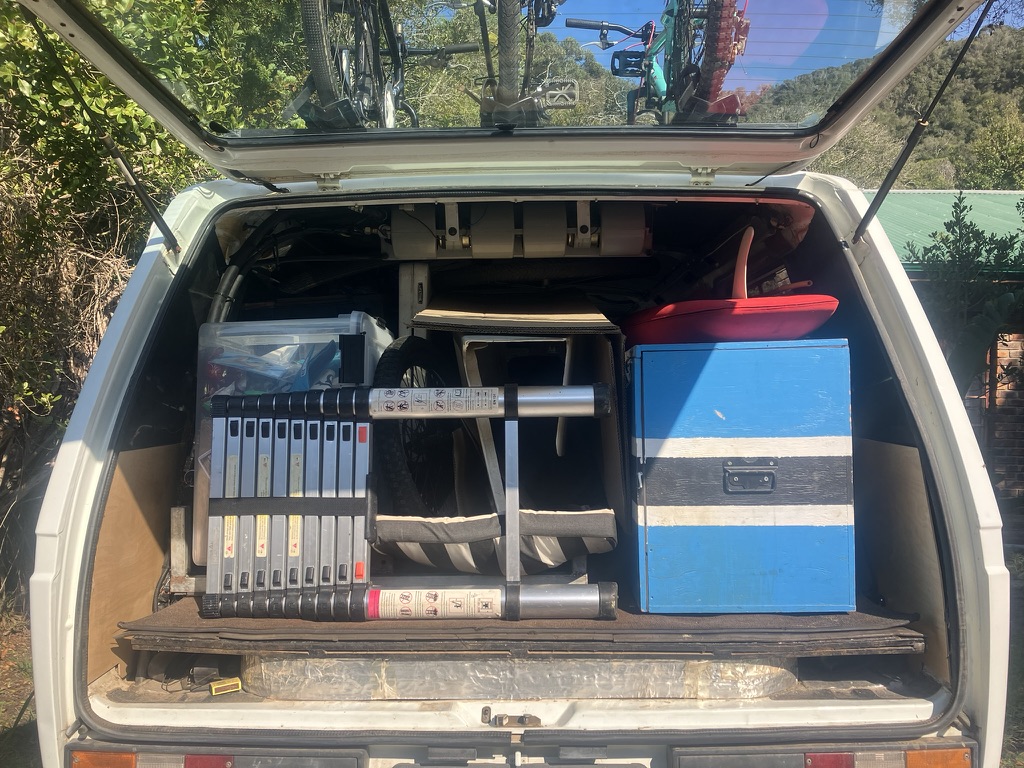
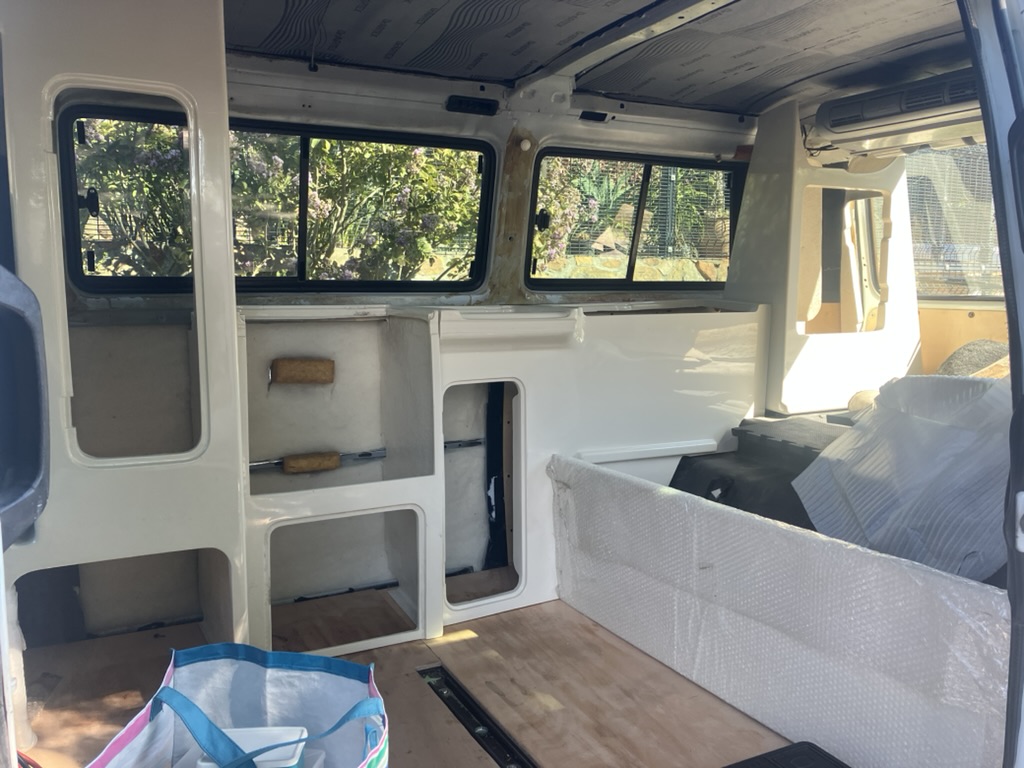
I also managed to pick up the cabinets on the way home. Once all unpacked, I did a soft fit to see how it would all look. There was a fair amount of trimming required to get it to fit, but it ended up looking quite nice. I can’t fit them permanently until the headliner is in though (and I’ve carpeted the smeary butyl!), so until then I’m driving around with the cupboard sort of freestanding in the back because there’ no space in my garage. Every now and then one of them crashes over and I shudder and hope they haven’t cracked.